

Best at home wrestling workouts
Why Train Wrestling at Home
Wrestling is one of the oldest and most physically demanding sports, requiring strength, endurance, flexibility, and strategic thinking. While traditional training usually takes place in gyms or wrestling clubs, more and more athletes both beginners and experienced—are discovering the unique benefits of home wrestling training. In fact, training wrestling at home can be a game-changer for those who seek flexibility, affordability, and personalized growth in the sport. One of the major advantages of wrestling at home is time and cost efficiency. Commuting to a gym or training center can take up valuable time and increase expenses related to transportation, membership fees, and gear. With a home setup, you can eliminate those costs and invest in basic equipment that suits your training style. Over time, this becomes a budget-friendly option without compromising the quality of your practice.
Another benefit is flexibility in scheduling and environment. At home, you control your time. Whether it’s early morning drills or late-night technique sessions, you’re not bound by a facility’s operating hours. Plus, the comfort of a familiar space allows you to focus better and reduce anxiety especially for beginners who may feel intimidated in a public gym setting.
Moreover, home wrestling training fosters consistency. When training is accessible within your living space, you’re more likely to stick to a routine. Even a small room with a mat can be enough to work on conditioning, grappling drills, and shadow wrestling.
In a world where convenience and safety matter more than ever, home-based wrestling training empowers individuals to stay active, disciplined, and continuously improve their skills without stepping outside.
What You Need to Get Started

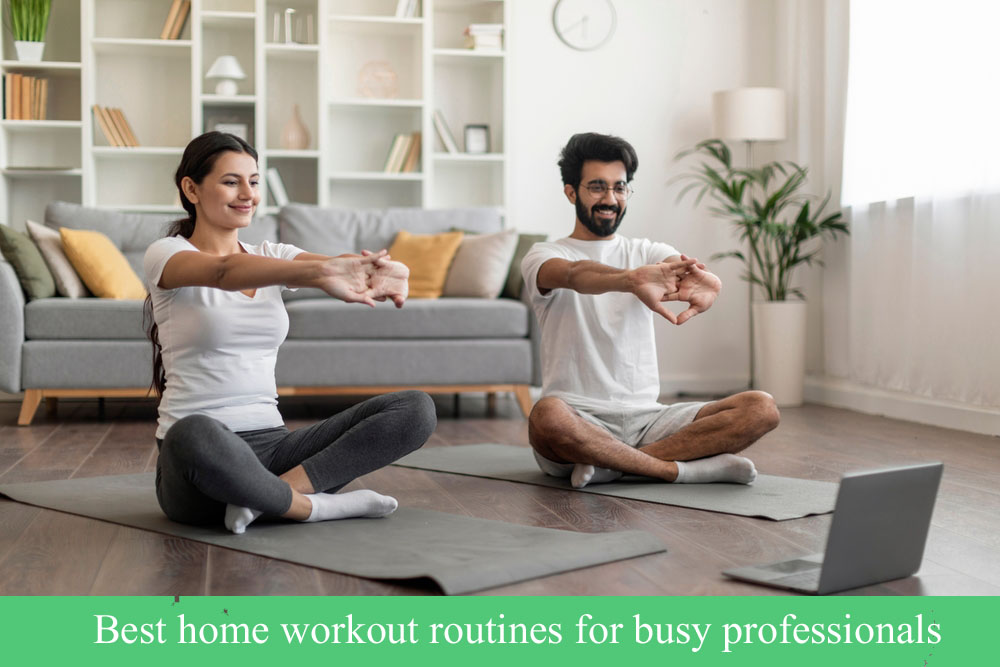
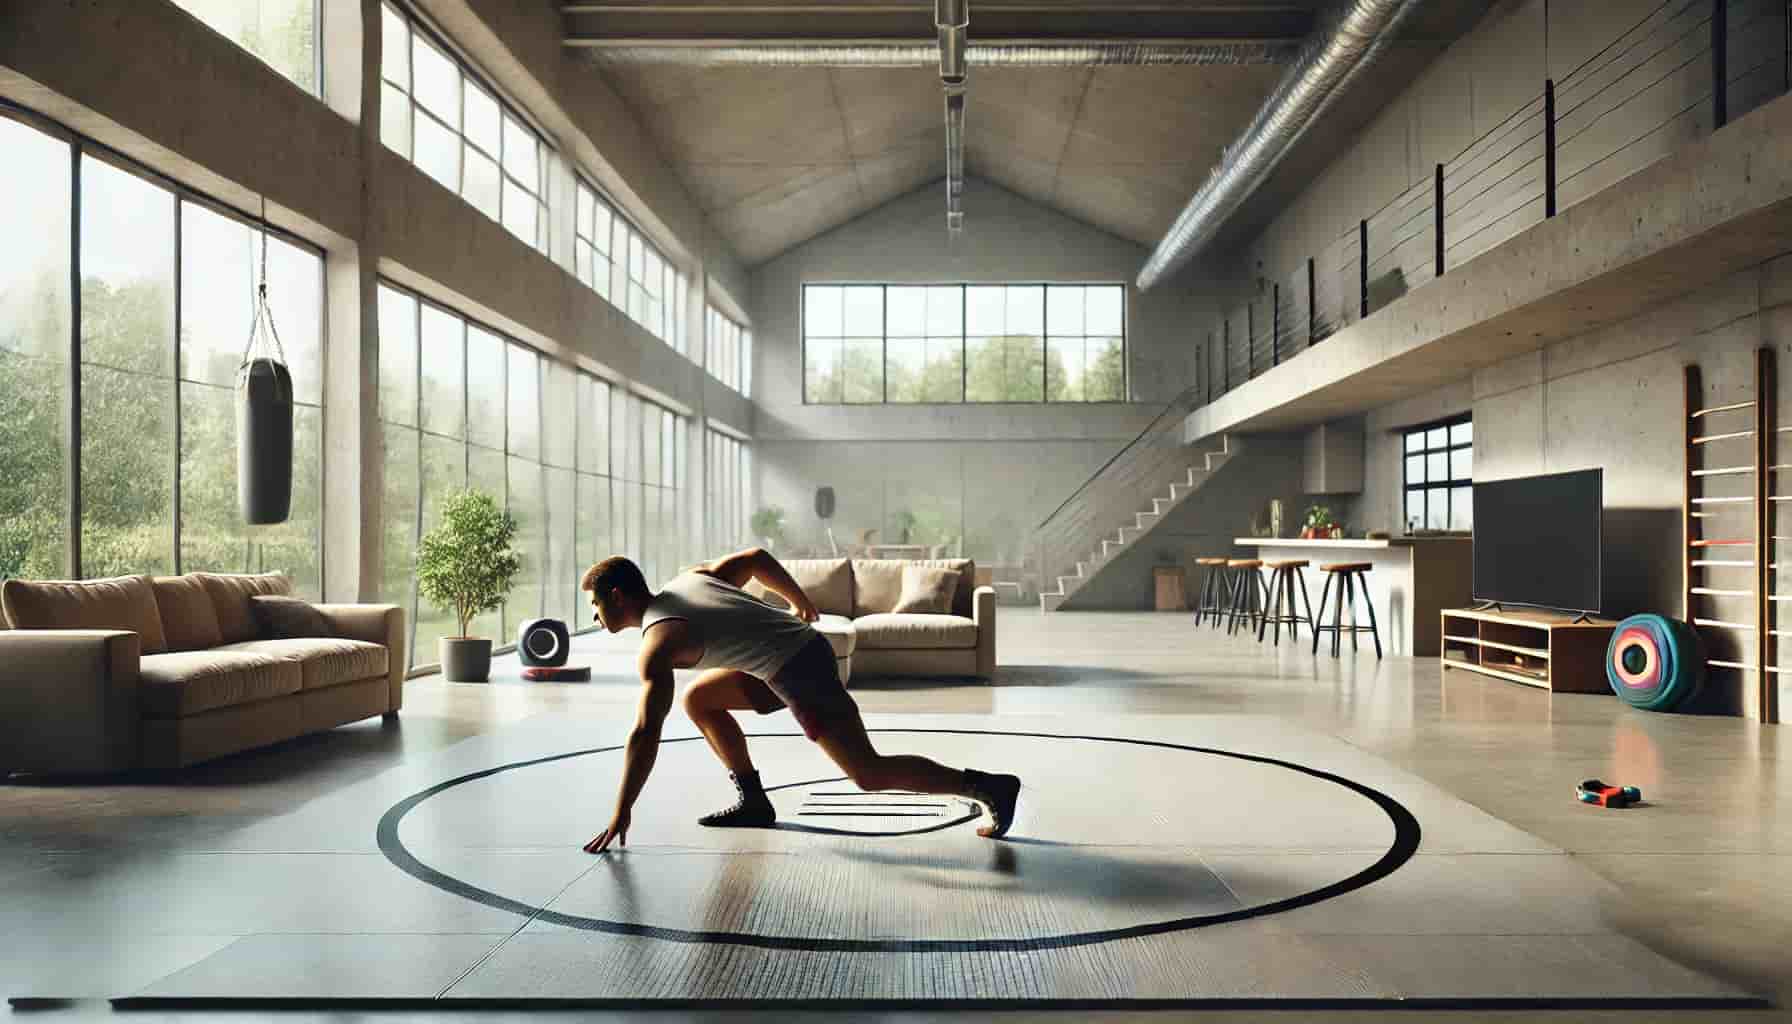
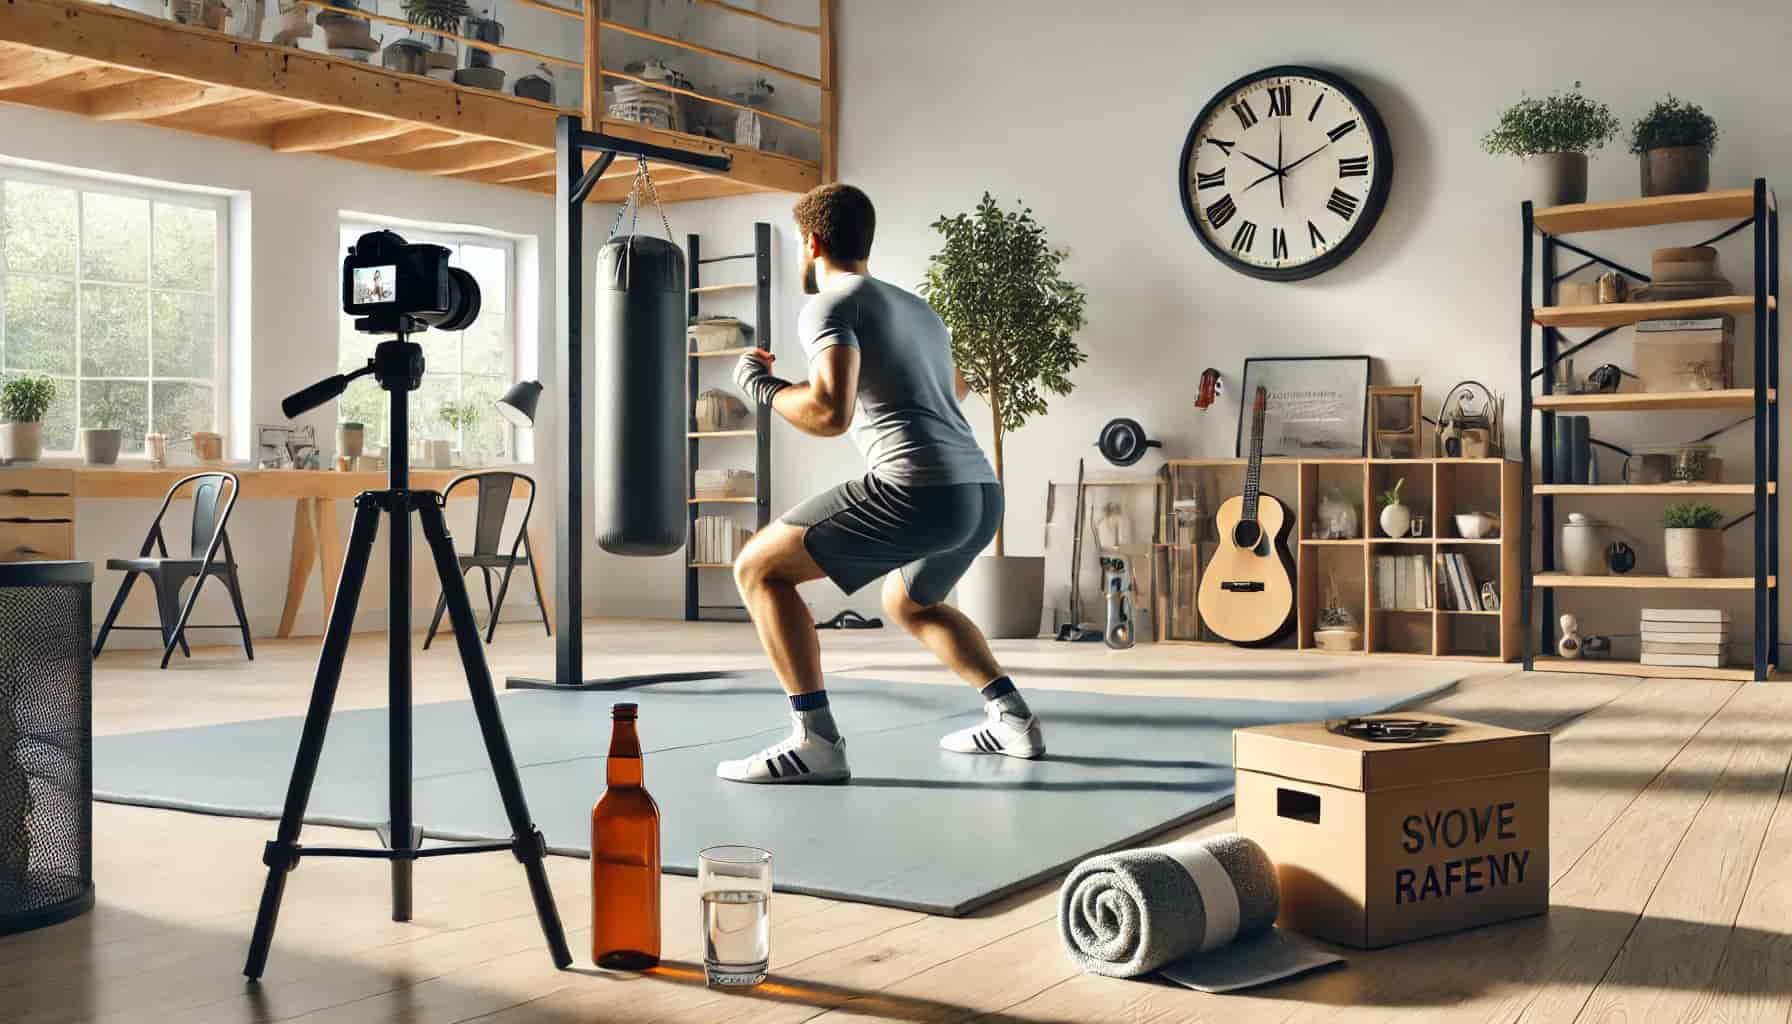
Beginning your home wrestling journey doesn’t require a fully equipped gym. With just a few essential items and the right mindset, you can build a powerful training routine right in your living room or garage. Whether you’re working on grappling techniques or wrestling bodyweight exercises, a minimal setup can go a long way in helping you reach your goals.
First, you’ll need an open space ideally, enough room to move freely without bumping into furniture. Safety is key, so make sure the surface is flat and clutter-free. If you’re training on a hard floor, invest in a yoga mat, wrestling mat, or foam padding to cushion your movements and prevent injuries during takedowns or ground drills.
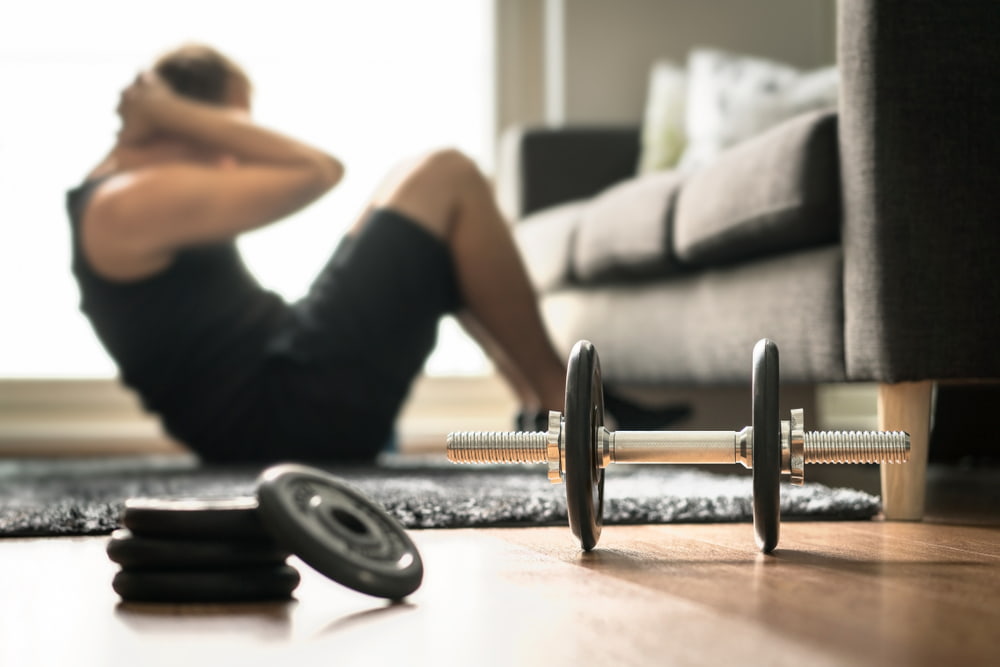
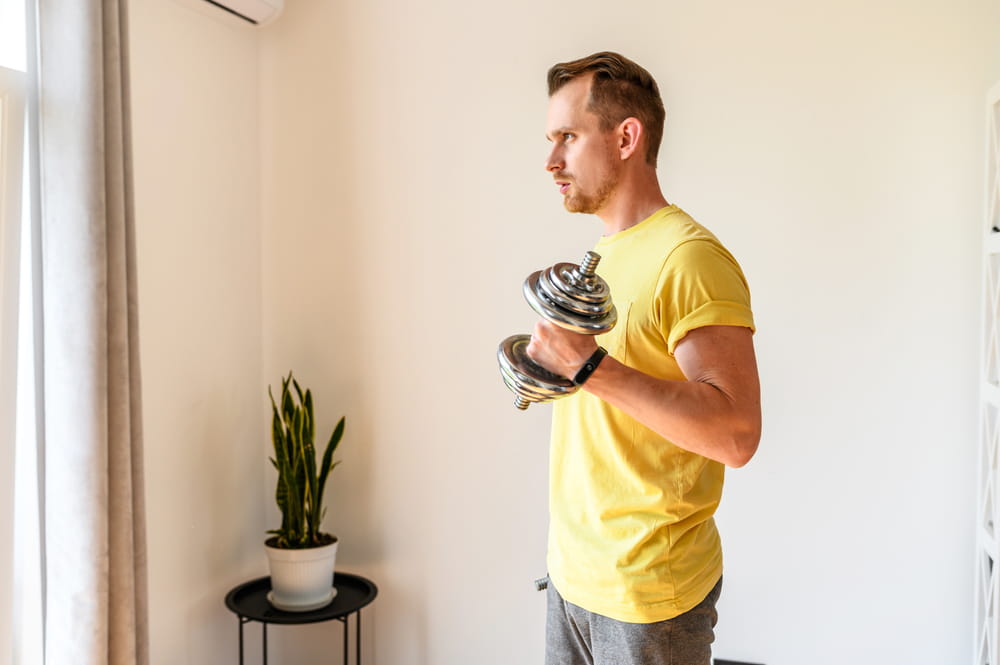
Other useful tools include resistance bands for strength training, a pull-up bar if available, and a timer or stopwatch for interval-based workouts. Most importantly, your body is your best equipment. With a solid routine of wrestling bodyweight exercises such as push-ups, squats, lunges, sprawls, bridges, and planks you can develop the strength, balance, and endurance that wrestling demands.
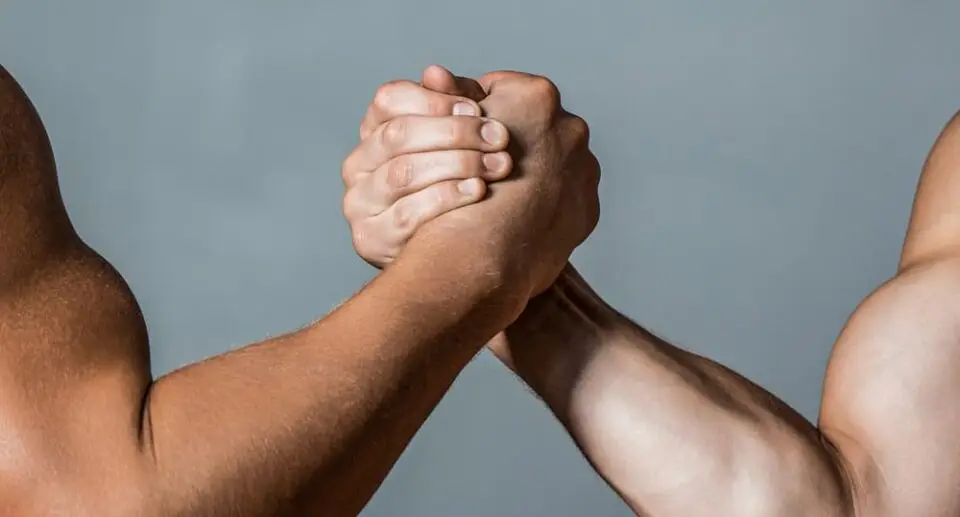
If possible, train with a partner to simulate real wrestling scenarios. Practicing moves like takedowns, escapes, or reversals with a friend or family member can make your sessions more dynamic. However, solo training is just as effective when done with discipline. Use a mirror or video recording to check your form and progress. Shadow wrestling and drilling techniques on a dummy or even a pillow can be surprisingly helpful.
Starting small and staying consistent is more important than having a professional setup. The key is to create a routine that fits your lifestyle and keeps you motivated.
Wrestling Warm-Up Exercises

Warming up properly is crucial before starting any wrestling session, especially when you’re training solo. A good warm-up prepares your muscles, increases blood flow, and reduces the risk of injury. When doing wrestling drills at home, dedicating 10–15 minutes to a dynamic warm-up can significantly improve your performance and flexibility.
Start with jumping jacks a classic full-body movement that elevates your heart rate and warms up the muscles. Aim for 3 sets of 30 seconds with short breaks in between. This helps activate your cardiovascular system and get your body moving.
Next, include arm circles to loosen your shoulders and improve range of motion. Perform forward and backward circles for 20 seconds each. This is especially helpful before grappling or doing any upper body technique work.
One of the most essential wrestling-specific exercises is the neck bridge. This movement strengthens your neck, which is a key area for injury prevention and control during matches. Begin gently, lying on your back and pushing up onto your head while keeping your feet flat. Perform 2–3 slow, controlled sets of 10–12 reps. Be cautious and increase difficulty gradually.
Finish your warm-up with dynamic stretching. Unlike static stretching, dynamic stretches involve active movement that mimics wrestling motions such as leg swings, hip circles, torso twists, and shoulder rolls. These stretches enhance your mobility and prepare the joints for action.
When practicing wrestling drills at home, these warm-ups serve as both a physical and mental reset, putting you in the right mindset for intense training. A proper warm-up not only improves agility and strength but also reinforces consistency and discipline two essentials for any wrestler.
Bodyweight Drills for Wrestling
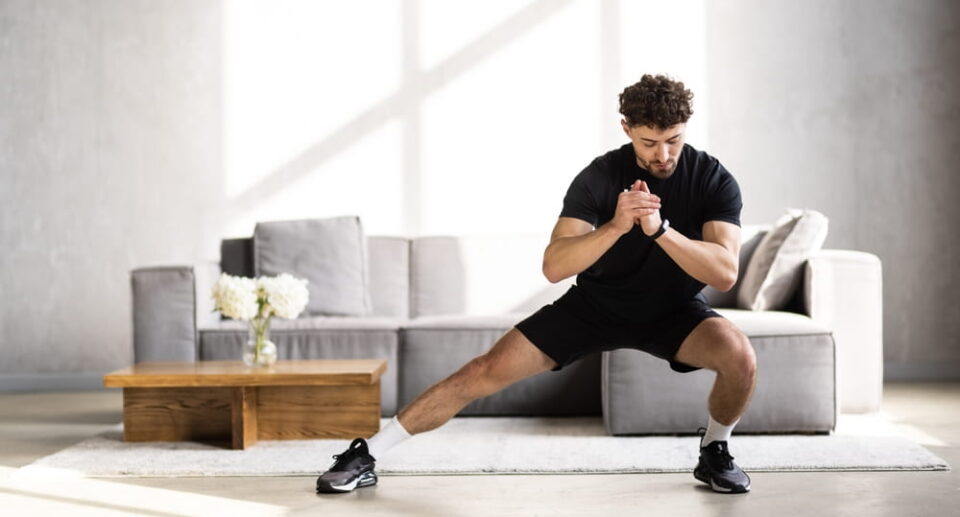
One of the biggest advantages of wrestling is that many essential skills can be developed using your own bodyweight no partner or equipment required. These movements improve strength, endurance, agility, and coordination. If you’re looking to practice wrestling alone, the following bodyweight drills are perfect for building a solid foundation. Start with sprawls, a fundamental wrestling defense move. Begin in a standing position, then drop your hips back and chest forward as if defending against a takedown. Quickly return to your stance. This movement builds explosive power and improves reaction time. Aim for 3 sets of 10–15 reps.
Next, practice shot entries without an opponent. This means drilling movements like single-leg or double-leg takedown positions, focusing on form, footwork, and level changes. Repetition is key perform these slowly at first, then build speed and intensity. Add bear crawls to your routine for full-body conditioning. These mimic natural wrestling motions and build shoulder and core strength. Crawl forward and backward for 20–30 seconds per set.
Duck walks are another wrestling-specific drill that strengthens your legs and enhances mobility. While in a low squat position, walk forward and backward for a set distance or time. This drill improves your ability to stay low during matches.
Don’t forget the basics push-ups, sit-ups, and squats. These classic exercises improve upper-body strength, core stability, and leg power all of which are crucial for wrestling.
When you practice wrestling alone, consistency and proper form are vital. Combine these drills into a circuit, and you’ll be developing wrestling-specific strength and stamina without needing a partner or gym. Over time, your balance, explosiveness, and overall fitness will dramatically improve.
Core Strengthening Workouts

In wrestling, a strong core is essential for maintaining balance, generating power, and executing explosive movements. Whether you’re shooting for a takedown or defending against one, your core controls nearly every motion. That’s why core-focused training should be a central part of your solo wrestling workouts at home.
Start with the plank, a fundamental isometric exercise that targets the entire core. Hold a front plank position with your body in a straight line from head to heels, elbows under shoulders. Aim for 30–60 seconds per set. Follow this with side planks, which target the obliques key muscles for twisting and turning during grapples. Do each side for 30 seconds to build symmetry.
Next, add Russian twists to activate your rotational strength. Sit on the floor with your knees bent, feet slightly off the ground, and torso leaned back. Twist your torso side to side, touching the ground on each side. This motion simulates wrestling’s constant side-to-side movement and strengthens the obliques and spine stabilizers.
Leg raises are another core blaster that improves lower abdominal strength. Lie flat on your back and slowly raise your legs to a 90-degree angle, then lower them without touching the floor. Do 3 sets of 10–15 reps for best results.
Finally, include hollow body holds, a favorite among gymnasts and wrestlers alike. Lie on your back, lift your shoulders and legs off the ground, and hold the position while keeping your lower back pressed into the floor. This movement builds deep core stability and body control crucial for transitions and mat control.
Incorporating these core exercises into your solo wrestling workouts will enhance your control, explosiveness, and overall mat performance even without a training partner.
Wrestling-Specific Movements

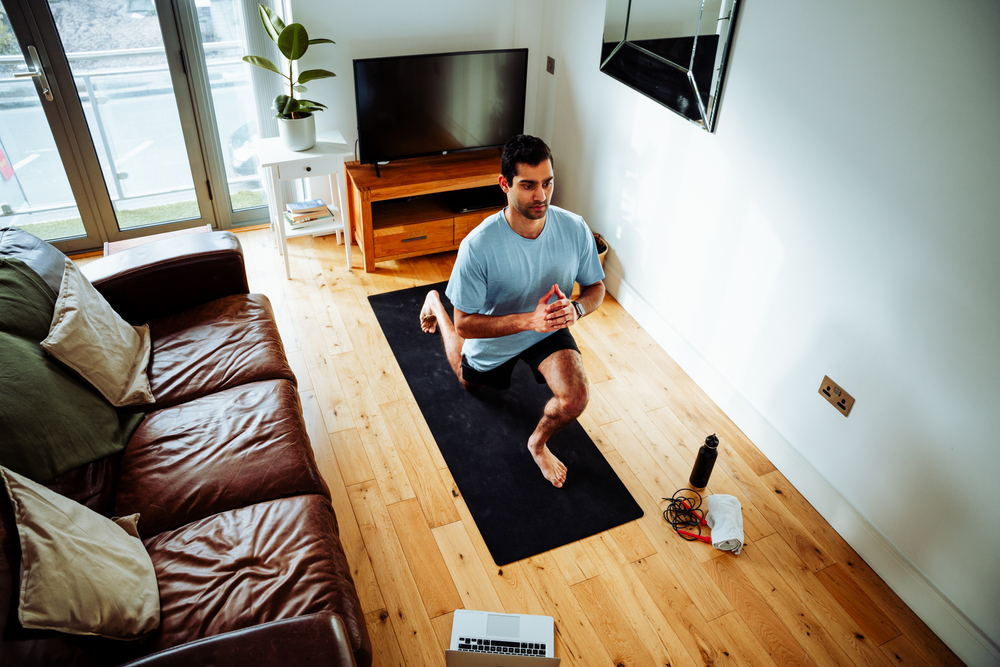
While general fitness exercises are essential, wrestling requires movements that closely mimic what happens in a real match. Even without a partner or gym access, you can develop technique, speed, and stamina by focusing on wrestling-specific movements. These drills are especially useful when practicing at home and help translate your fitness into mat-ready performance.
One of the most effective solo drills is shadow wrestling. Similar to shadowboxing in martial arts, this involves moving through offensive and defensive motions without a partner. Practice stances, level changes, shots, sprawls, and sprawled recoveries in fluid sequences. Use a mirror or record yourself to correct posture and transitions. This helps sharpen technique, footwork, and reaction timing.
Stand-up drills are another vital movement, focusing on escaping from the bottom position. From a kneeling or seated base, explode up to a standing position repeatedly. This builds speed, leg drive, and muscle memory for quick escapes during real matches.
To simulate takedowns and control techniques, use mat returns with a dummy, heavy bag, or even a firm pillow. Practice lifting and returning your “opponent” to the ground safely and with control. These mimic real match situations and strengthen your hips, grip, and back muscles.
Finally, incorporate wall sits to build lower body endurance. Sit against a wall with your knees at 90 degrees and hold the position for 30–60 seconds. This static exercise strengthens your quads and mental toughness, mimicking the burn of staying in a low wrestling stance.
Practicing these wrestling-specific movements regularly ensures your training is more than just physical it becomes technical, strategic, and mat-ready. These movements bridge the gap between fitness and real wrestling performance.
How to Build a Weekly At-Home Wrestling Routine

Consistency is the key to progress in wrestling, and having a structured weekly plan can help you train effectively even from home. A smart routine balances technique, strength, recovery, and flexibility. Ideally, you should aim to train 4–5 days a week, allowing room for growth and proper rest.
Here’s a sample weekly breakdown to get you started:
Day 1 – Footwork & Agility:
Start your week by sharpening your footwork. Focus on shadow wrestling, stance-and-motion drills, cone drills, and lateral movement. Agility ladders or marked spaces on the floor can help you build speed and coordination.
Day 2 – Takedown Technique:
Dedicate this day to takedown drills such as shot entries, level changes, and sprawls. Work on your setups and practice chain-wrestling sequences without a partner. Use pillows or a dummy for simulated resistance.
Day 3 – Strength Training:
Use this day to focus on bodyweight exercises and core workouts push-ups, squats, planks, leg raises, and hollow holds. Combine these into circuits to improve muscular endurance and wrestling-specific strength.
Day 4 – Recovery & Mobility:
Recovery is crucial for long-term performance. Do light stretching, yoga, or foam rolling to improve flexibility and reduce soreness. You can also perform low-intensity shadow wrestling or dynamic movements to stay active without stressing your body.
Day 5 – Full Wrestling Simulation:
Combine all elements footwork, technique, and strength into one session. Create a flow of shadow wrestling, followed by short circuits and cooldown stretches.
This structure provides both discipline and variety, keeping you motivated throughout the week. A well-balanced at-home wrestling routine ensures you’re improving all key aspects of your performance while avoiding burnout or injury.
Optional: Equipment Ideas (Low Budget)
You don’t need expensive gym gear to train like a wrestler. With a bit of creativity, you can build a cost-effective home setup that still delivers results. Whether you’re just starting or want to enhance your at-home wrestling training, here are some budget-friendly equipment ideas to elevate your workouts.
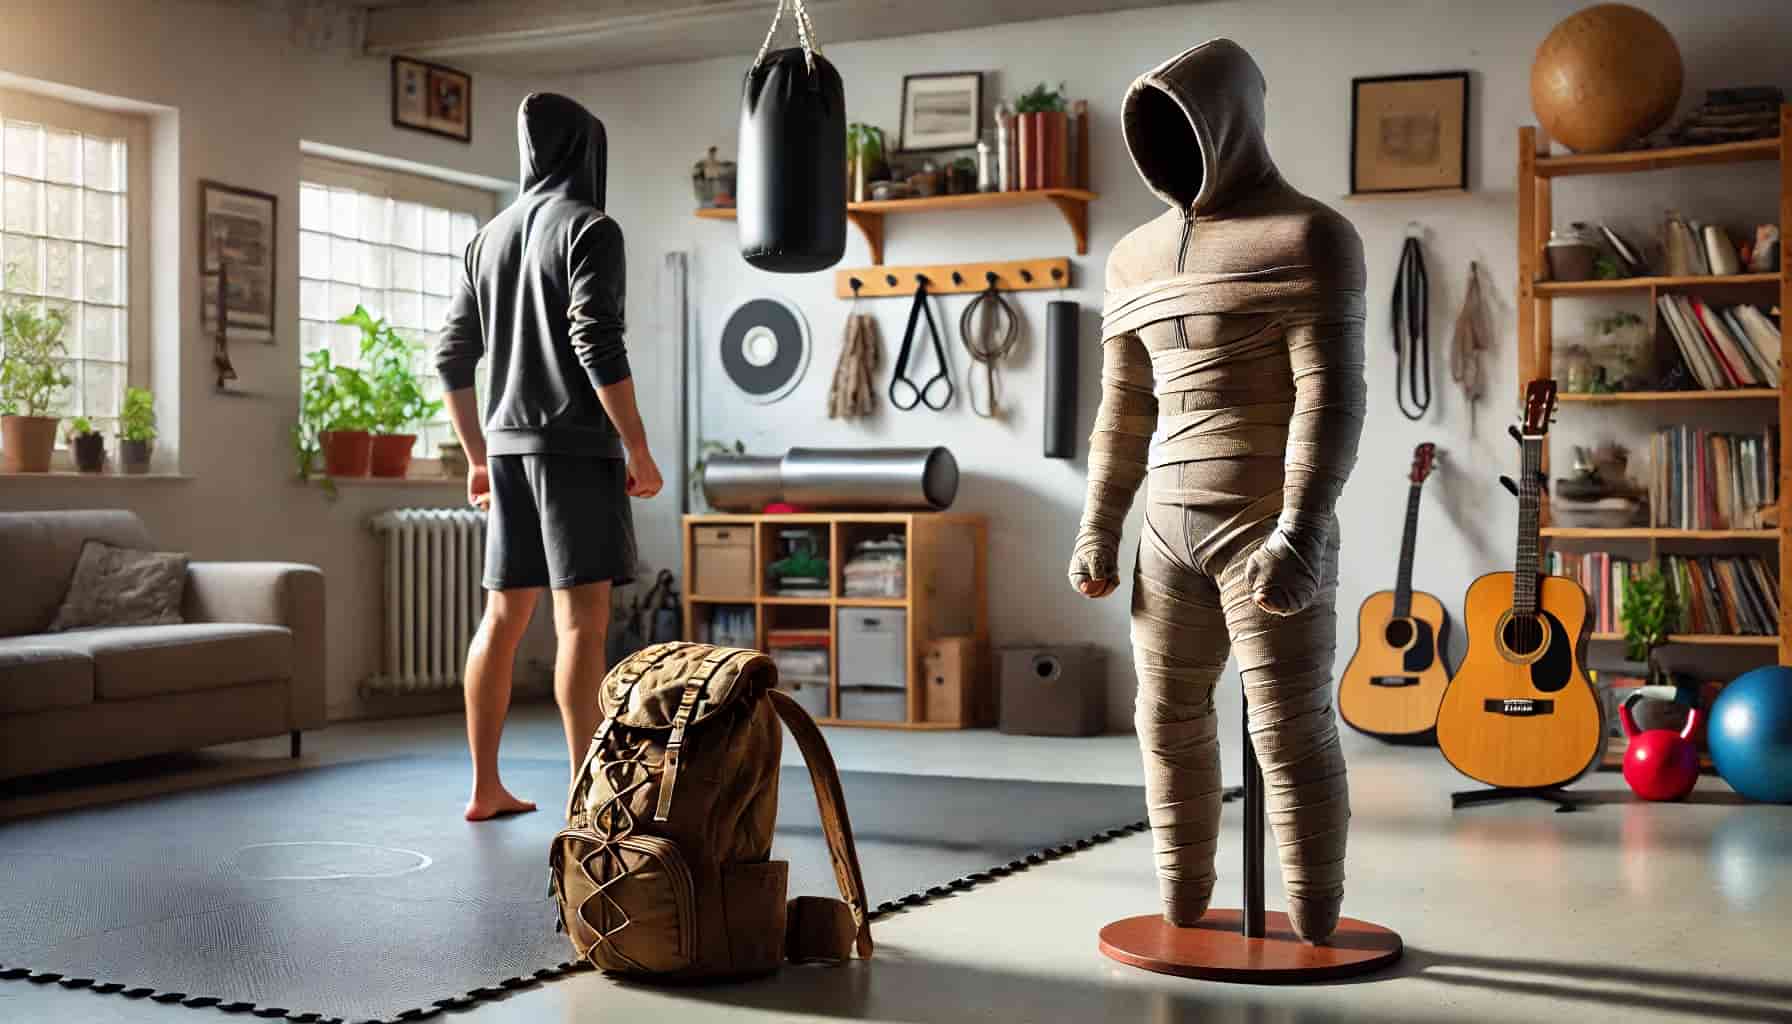
1. Homemade Grappling Dummy:
Practicing with a partner isn’t always possible, but a grappling dummy is a great alternative. You can make one at home using old clothes, towels, duct tape, and a hoodie. Stuff the clothes to give it shape, tape the limbs, and you’ve got a functional dummy for mat returns, throws, and submission drills. It’s an affordable way to add resistance to solo practice.
2. Resistance Bands:
These are lightweight, inexpensive, and incredibly versatile. Use them for strength training, mobility work, and even technique resistance. Resistance bands can mimic the tension of an opponent, making them perfect for drills like sprawls, shot resistance, and arm pulls.
3. Weighted Vest (or Backpack):
To increase the intensity of your bodyweight exercises, wear a weighted vest during squats, push-ups, or wall sits. If you don’t have a vest, fill a school bag with books or water bottles and strap it on. This DIY method adds resistance and builds endurance without the need for costly gym equipment.
With minimal investment, you can create an effective wrestling environment right at home. These tools not only improve your strength and technique but also make your routine more engaging and productive.
Common Mistakes and Safety Tips
Training at home offers flexibility, but it also comes with the responsibility of staying safe and avoiding bad habits. When there’s no coach or training partner to supervise, it becomes even more important to stay mindful of your limits and form. Whether you’re a beginner or an experienced wrestler, avoiding these common mistakes will help you train smarter and prevent setbacks.
1. Overtraining:
One of the most frequent mistakes in solo wrestling workouts is doing too much, too fast. Wrestling is intense, and without proper recovery, your body can break down. Training 4–5 times a week is great but remember to listen to your body. Include rest days or active recovery sessions, and don’t hesitate to take time off if you feel pain, fatigue, or joint stress.
2. Poor Form:
Without supervision, it’s easy to fall into bad movement patterns. This can lead to injuries or develop incorrect techniques that are hard to fix later. Pay close attention to posture, stance, and movement in each drill. Use a mirror or record videos to evaluate your form and make improvements. Quality always beats quantity.
3. Ignoring Hydration and Sleep:
Recovery doesn’t just happen during workouts it continues off the mat. Staying hydrated is essential, especially during intense sessions. Drink water before, during, and after workouts. Similarly, aim for at least 7–8 hours of sleep each night. Sleep allows your body to repair muscles, regulate hormones, and boost performance.
By avoiding overtraining, maintaining proper form, and focusing on rest and recovery, you can ensure long-term success with your home wrestling training. Smart training builds champions not just hard training.
Stay Consistent and Track Progress
Training alone requires discipline, but the rewards are well worth the effort. The biggest key to improvement isn’t expensive equipment or a professional coach it’s consistency. Whether you’re just starting out or building upon years of experience, staying committed to your routine is what will drive your progress forward.
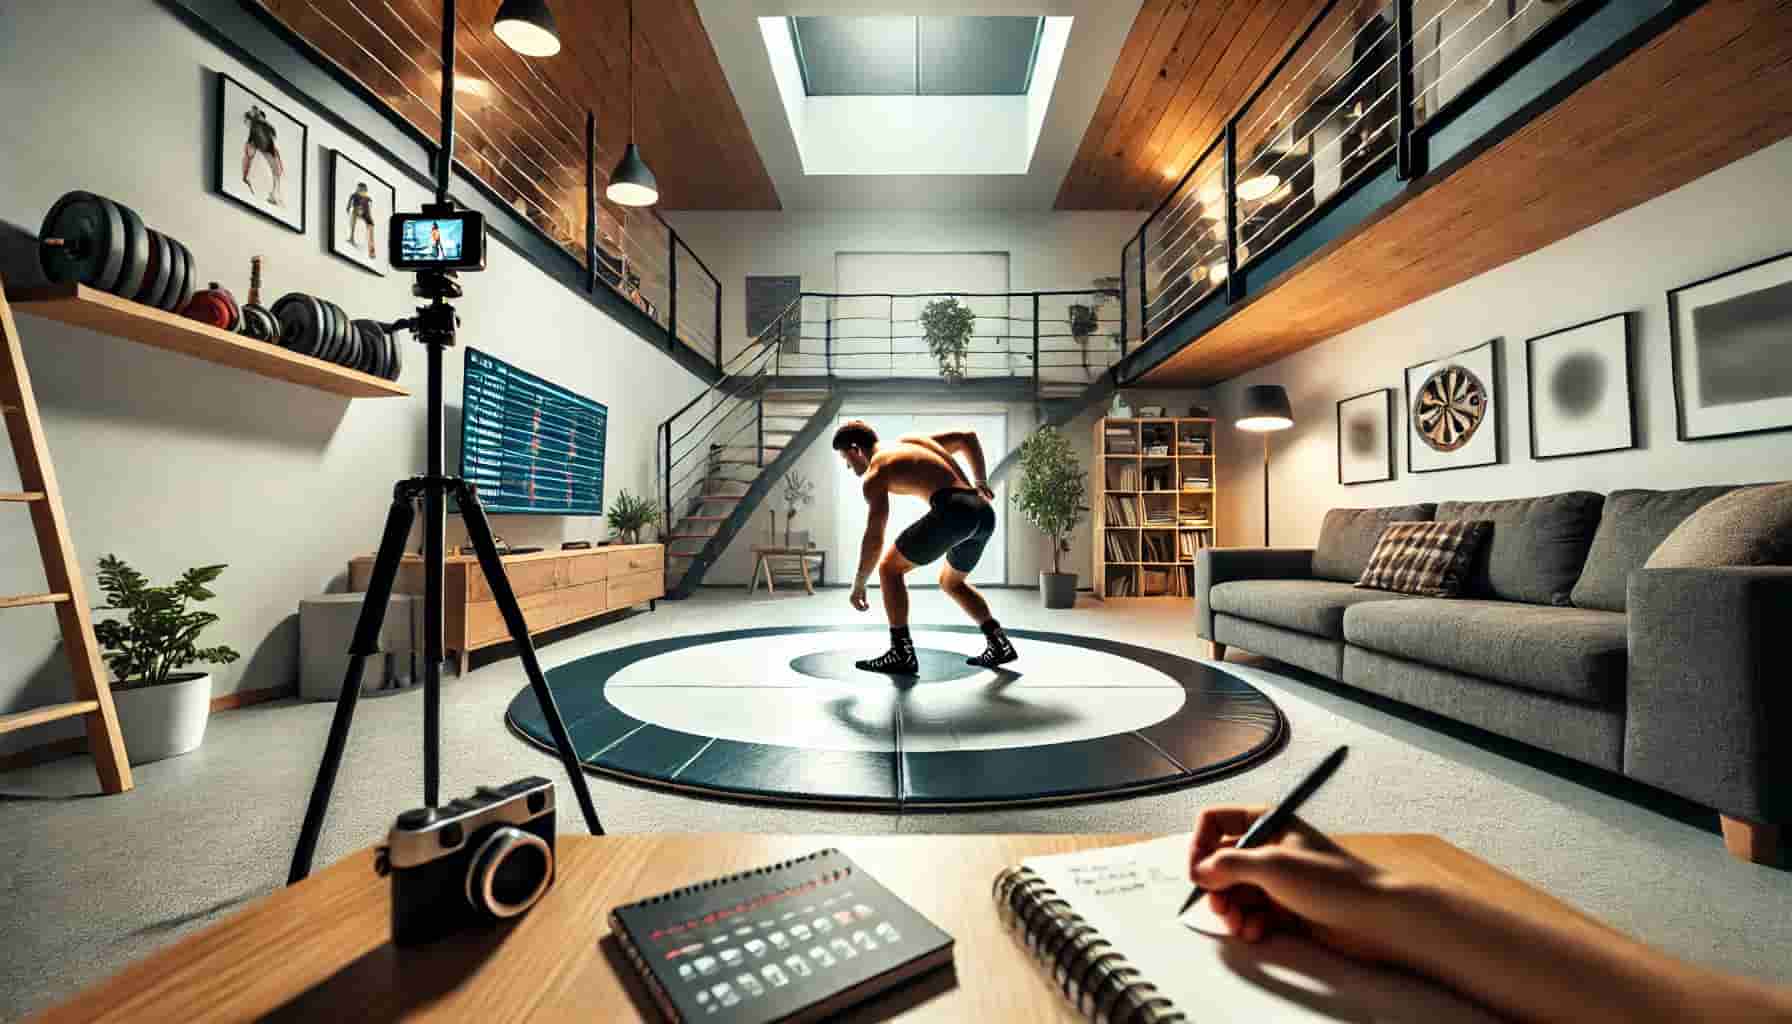
Wrestling is a sport that demands physical strength, mental focus, and technical precision. The beauty of how to train wrestling by yourself lies in the ability to take ownership of your development. Practicing a little each day, even if it’s just 20–30 minutes, builds momentum over time. Don’t wait for the perfect space, time, or setup. Start with what you have and keep showing up.
Equally important is tracking your progress. Keep a journal or logbook of your daily workouts what exercises you performed, how many reps, and how you felt afterward. Record videos of your drills weekly to compare your form and fluidity. Note improvements in strength, endurance, or technique. Over time, these small details reveal your growth and help you stay motivated. Set short-term and long-term goals such as mastering a move, increasing reps, or improving your flexibility. Celebrate your wins, no matter how small. They’ll push you through tough days and keep your motivation alive.
Remember, wrestling isn’t just about competition it’s about personal mastery. And the journey of training solo teaches you more than just moves; it builds discipline, resilience, and confidence.
So lace up your shoes, unroll your mat, and begin. Your best training partner is you and every day is a new opportunity to improve.